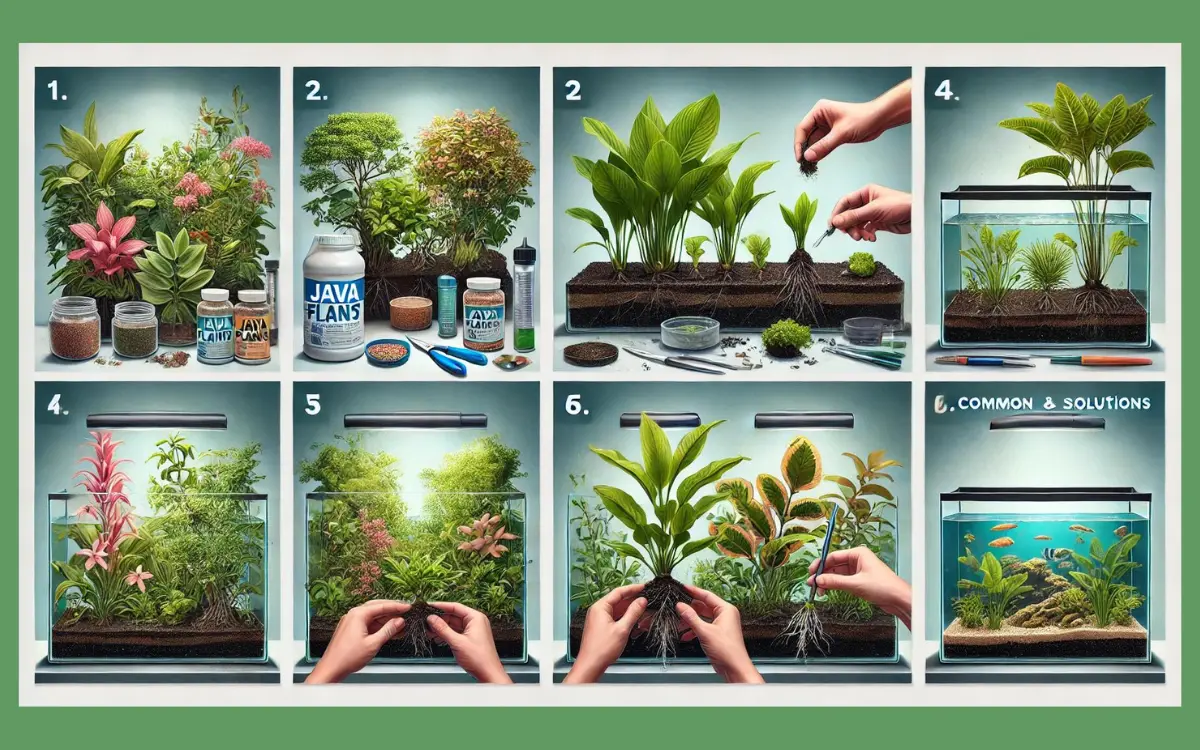
Starting an aquarium with live plants can be fun and easy! This guide will show you how to plant aquarium plants step-by-step.
Perfect for beginners, you’ll have a beautiful underwater garden in no time!
Essential Items You Need
- Aquarium Gravel or Substrate: Provides a base for plants to root. Choose nutrient-rich substrate for better plant growth.
- Aquarium Safe Decorations (Rocks, Driftwood): Used to attach certain types of plants like Java Fern and Anubias. Adds natural beauty and hiding spots for fish.
- Aquarium Fertilizer: Supplies essential nutrients for plant growth. Available in liquid form or as root tabs.
- Planting Tools (Tweezers, Scissors): Tweezers help plant delicate plants precisely. Scissors are useful for trimming and maintaining plants.
Water Conditioner: Makes tap water safe for plants and fish by removing harmful chemicals. Essential for creating a healthy environment in your aquarium.
Step #1: Preparing Your Aquarium
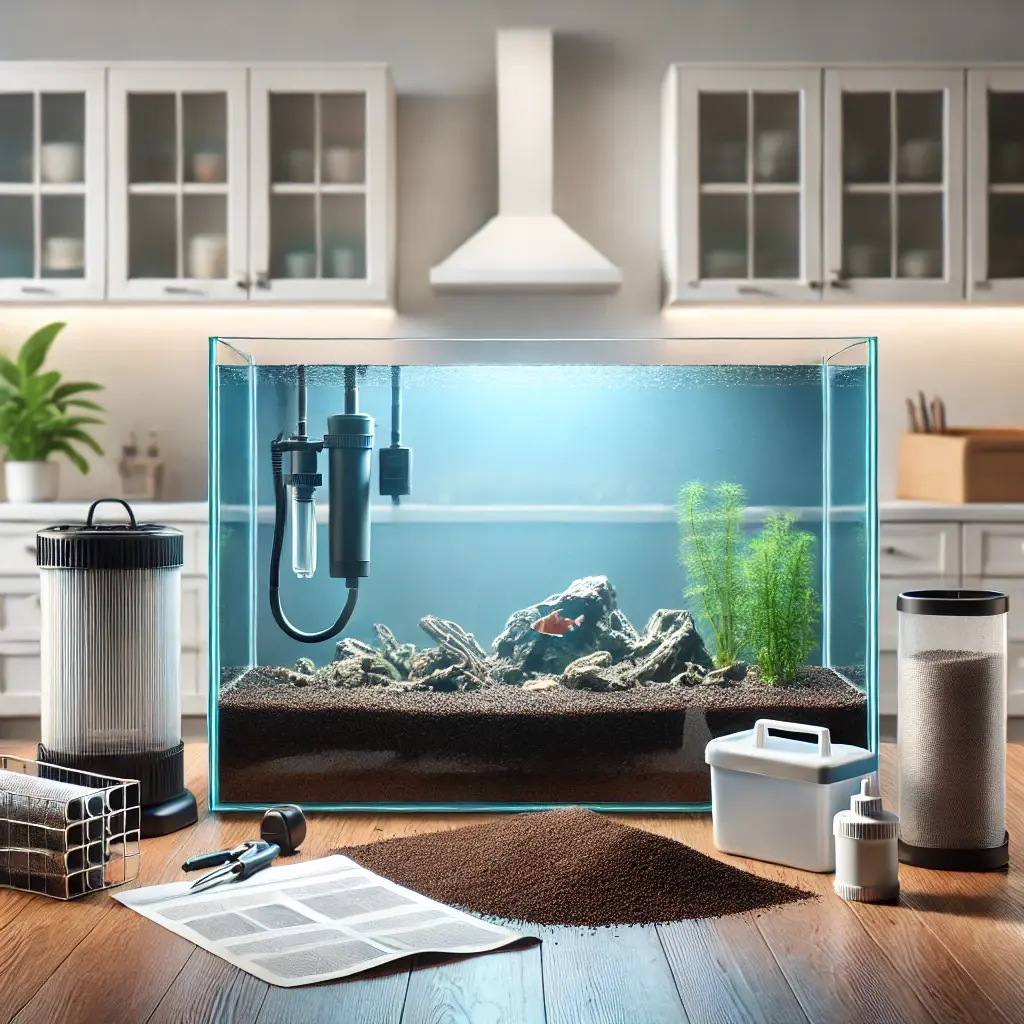
Cleaning the Tank: Rinse the tank with water to remove any dust or debris. Avoid using soap or chemicals, as they can be harmful to plants and fish.
Adding Substrate or Gravel: Evenly spread a 2-3 inch layer of substrate or gravel on the bottom of the tank. If using a nutrient-rich substrate, place it beneath a layer of regular gravel to prevent cloudiness.
Setting Up Decorations: Arrange rocks, driftwood, and other decorations to create a natural environment. Attach plants like Java Fern and Anubias to rocks or driftwood using fishing line or plant glue. Ensure decorations are stable and won’t fall over.
Step #2: Choosing the Right Plants
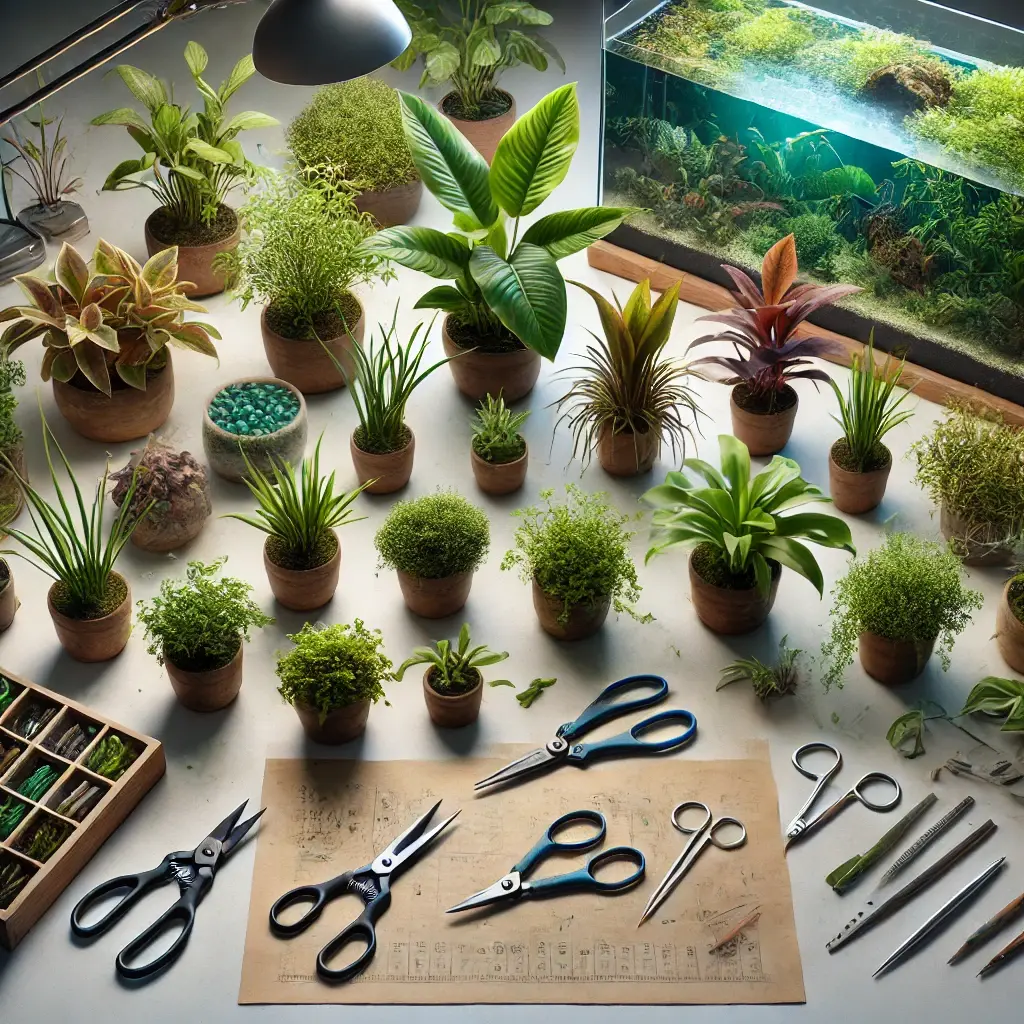
Low Maintenance Plants for Beginners: Select plants that are easy to care for and don’t require special conditions. These plants thrive in various light and water conditions, making them ideal for beginners.
Midground, Foreground, and Background Plants:
- Foreground Plants: Short plants that grow at the front of the tank. Example: Dwarf Hairgrass.
- Midground Plants: Medium height plants placed in the middle of the tank. Example: Anubias, Cryptocoryne.
- Background Plants: Tall plants that grow at the back of the tank. Example: Vallisneria, Amazon Sword.
Examples:
- Java Fern: A hardy plant that can be attached to rocks or driftwood, requiring low to moderate light.
- Anubias: Another sturdy plant that thrives in low light and can be attached to decorations.
- Cryptocoryne: Versatile plants with various leaf shapes and colors, suitable for midground placement.
Step #3: Planting Steps
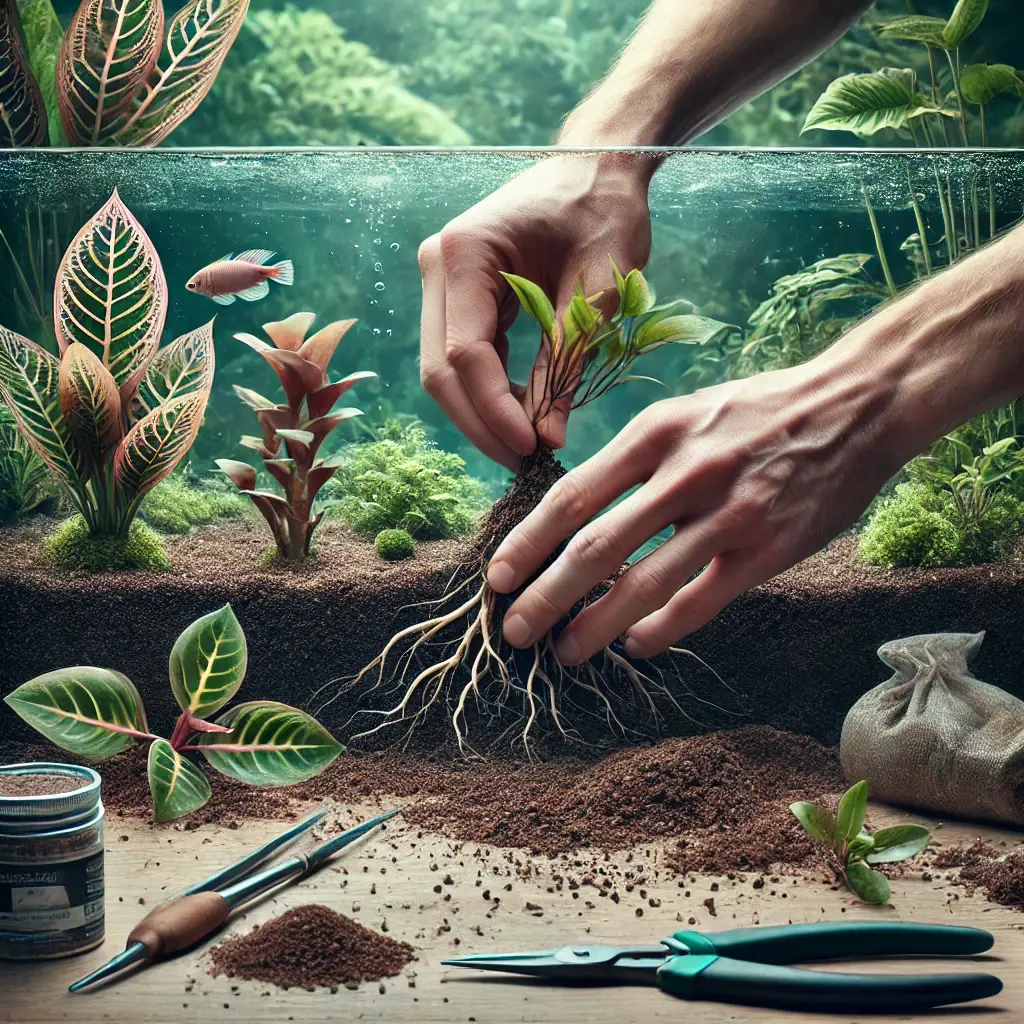
Rinsing the Plants: Gently rinse the plants under running water to remove any dirt or pests. Trim off any dead or damaged leaves and roots with scissors.
Planting in Substrate:
- Create small holes in the substrate using your fingers or planting tweezers.
- Gently place the roots of the plants into the holes and lightly cover the roots with substrate, ensuring the base of the plant is secure.
- Leave enough space between plants to allow for growth.
Attaching Plants to Decorations:
- Clean rocks or driftwood where you will attach the plants.
- Place the plant against the decoration and secure it with fishing line or plant glue.
- Carefully place the decorated rock or driftwood into the tank, ensuring it is stable and won’t fall over.
Step #4: Initial Care and Maintenance
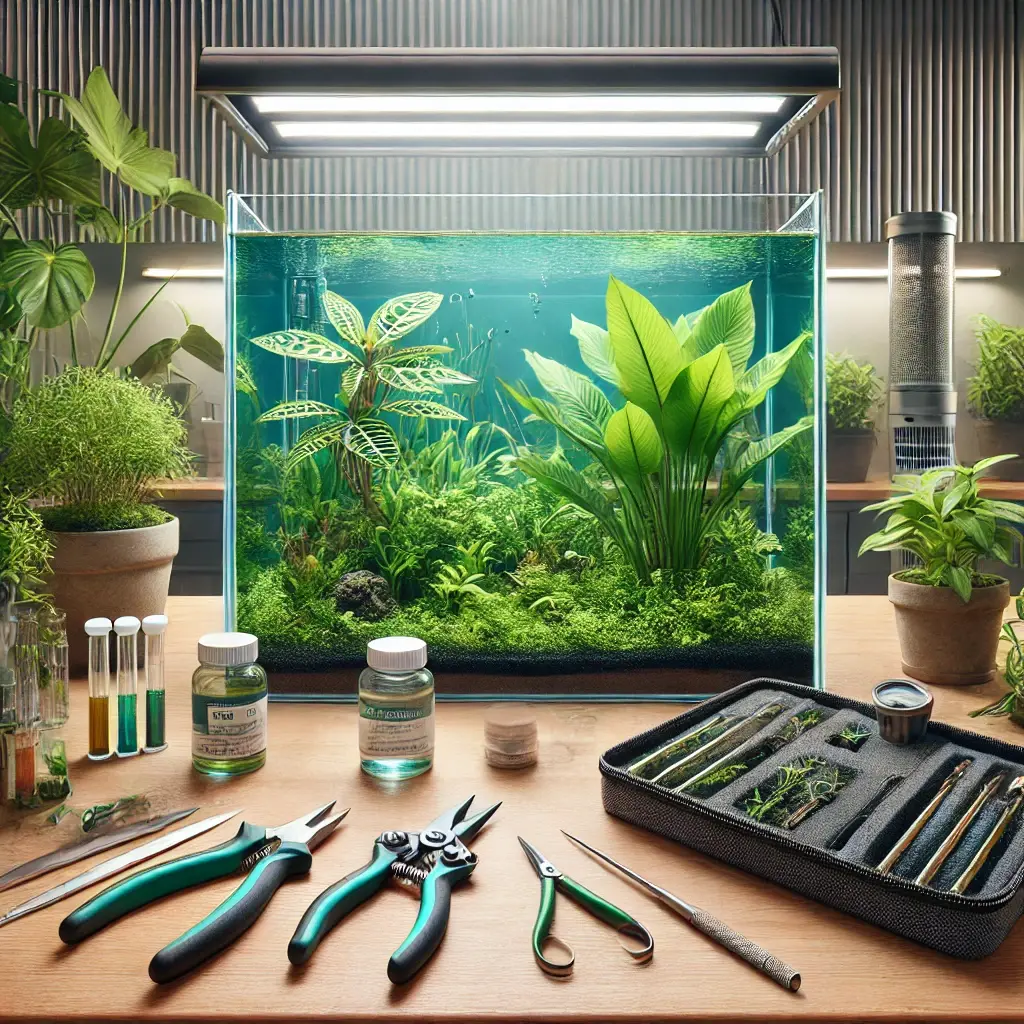
Adjusting Lighting: Ensure your aquarium light is suitable for the plants you’ve chosen. Most beginner plants need low to moderate light. Set a timer to provide 8-10 hours of light per day to mimic natural daylight.
Adding Fertilizer: Add liquid fertilizer weekly to provide essential nutrients. Place root tabs in the substrate near the roots of heavy-feeding plants every 1-2 months.
Regular Water Changes: Change 25-30% of the water every week to maintain water quality. Use a siphon to remove water and debris from the substrate, and replace it with conditioned tap water.
Step #5: Common Challenges and Solutions
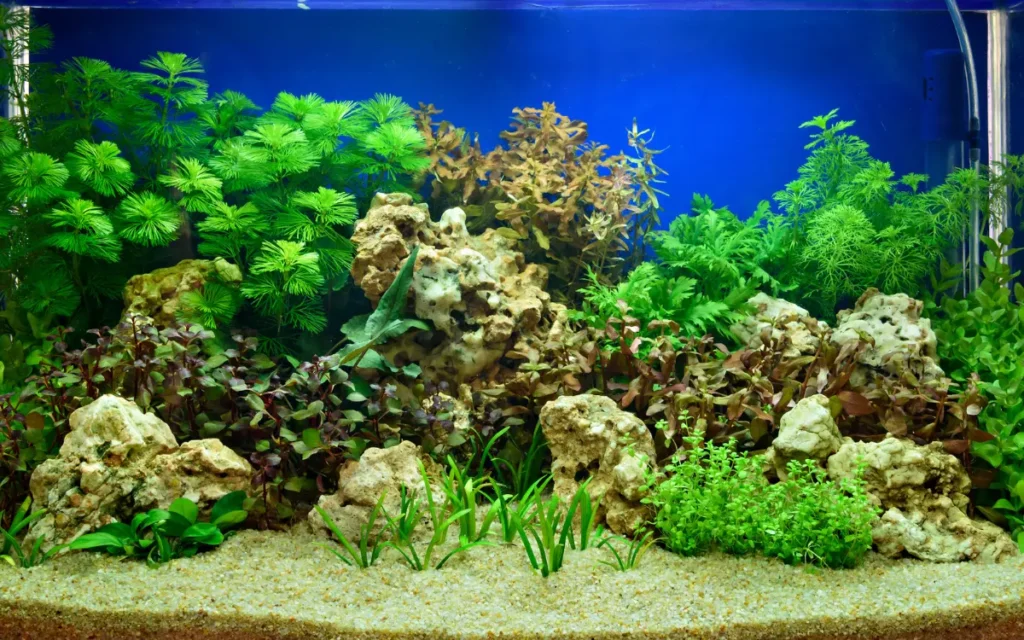
Dealing with Algae: Reduce the amount of light if algae growth is excessive. Introduce algae-eating fish or snails to help control algae. Manually remove algae from glass, plants, and decorations during water changes.
Melting Leaves: Some plants may experience “melting” when first introduced to a new environment. Be patient, as they often recover. Ensure pH, temperature, and nutrient levels are suitable for the plants.
Pests and Diseases: Regularly check for signs of pests like snails or diseases. Use aquarium-safe treatments if pests or diseases are detected. Quarantine affected plants if necessary.
How to Quarantine plants for aquarium
Importance of quarantine
- Prevents introduction of pests, parasites, and diseases to main tank
- Allows observation of plants for potential issues
- Reduces stress on existing aquarium inhabitants
Preparation
A. Quarantine tank setup – Use a separate tank, 5-10 gallons is usually sufficient – Install appropriate lighting (LED or fluorescent) – Add a sponge filter for gentle filtration – Use substrate from main tank or leave bare-bottomed
B. Necessary equipment – Thermometer – Water testing kit – Quarantine-specific tools (scissors, tweezers) – Treatments (if needed): salt, hydrogen peroxide, etc.
Quarantine process
A. Initial inspection – Carefully examine plants for visible pests or damage – Gently rinse plants under running water – Remove any dead or decaying parts
B. Cleaning and treatment – Dip plants in a mild bleach solution (1 part bleach to 19 parts water) for no more than 2-3 minutes – Rinse thoroughly in dechlorinated water – For sensitive plants, use a potassium permanganate or alum dip instead
C. Observation period – Keep plants in quarantine for 2-4 weeks – Maintain stable water parameters similar to main tank – Monitor daily for signs of pests, algae, or decay – Perform water changes as needed, typically 25-50% weekly
IV. Introducing plants to the main aquarium
- After quarantine period, if plants appear healthy, acclimate to main tank
- Slowly introduce tank water to plants over 30 minutes
- Carefully plant in the main aquarium
- Monitor for any issues in the following days
V. Additional considerations
- Some hobbyists use a “plant dip” product instead of bleach
- Tissue-cultured plants may not need quarantine, but it’s still recommended
- Always research specific plant species for any unique quarantine needs
How to clean aquarium plants before planting
Here’s a detailed guide on how to clean aquarium plants before planting:
Reasons for cleaning new plants
- Remove pesticides, fertilizers, and other chemicals
- Eliminate snails, eggs, and other pests
- Reduce the risk of introducing algae or harmful bacteria
Cleaning methods
A. Rinsing – Suitable for hardy plants – Removes loose debris and some pests
B. Dipping – More thorough cleaning – Various solutions available for different purposes
C. Bleach treatment – Effective against most pests and algae – Requires careful handling to avoid damaging plants
Step-by-step cleaning process
- Initial rinse
- Gently rinse plants under cool running water
- Remove any dead or yellowing leaves
- Prepare cleaning solution
- For bleach dip: 1 part bleach to 19 parts water
- For potassium permanganate: 10 mg per liter of water
- For hydrogen peroxide: 2-3 ml per liter of water
- Dip plants
- Submerge plants in chosen solution for 2-3 minutes (less for delicate plants)
- Gently agitate to ensure full coverage
- Rinse thoroughly
- Rinse plants in dechlorinated water until all smell of cleaning solution is gone
- Neutralize (if using bleach)
- Dip in water with double dose of dechlorinator
IV. Post-cleaning care
- Place cleaned plants in quarantine tank if possible
- If planting immediately, acclimate to tank water temperature
- Monitor plants closely for first few days after planting
V. Special considerations for different plant types
- Stem plants: Can usually withstand standard cleaning methods
- Rhizome plants (e.g., Anubias): Avoid submerging rhizome in bleach solution
- Mosses and delicate plants: Use gentler methods like alum dip (1 tablespoon per gallon) for 2-3 hours
- Tissue culture plants: May not need cleaning, but a light rinse is still recommended
VI. Alternative cleaning methods
- Alum dip: Safe for most plants, soak for 2-3 hours
- Potassium permanganate: Effective against algae, use with caution
- Commercial plant treatments: Follow product instructions carefully
How to prevent aquarium plants from melting in water
Here’s a comprehensive guide on how to prevent aquarium plants from melting in water:
Understanding plant melt
- Definition: Rapid deterioration of plant tissue when introduced to new environments
- Common in newly planted aquariums or with new plant additions
- Often a temporary issue if addressed properly
Common causes of melting
A. Transition shock – Stress from changing environments (e.g., emersed to submersed growth) – Different water parameters from growing conditions
B. Nutrient deficiencies – Lack of essential macro and micronutrients – Imbalanced nutrient ratios
C. Improper lighting – Insufficient light intensity – Incorrect light spectrum – Inconsistent photoperiod
D. Water parameters – Incorrect temperature – Unsuitable pH levels – Inadequate CO2 levels (for high-tech tanks)
Prevention strategies A. Proper acclimation – Gradually introduce plants to new water conditions – For tissue culture plants, use a transition tank if possible
B. Nutrient management – Use a comprehensive aquarium plant fertilizer – Ensure proper balance of macro and micronutrients – Consider root tabs for heavy root feeders
C. Lighting optimization – Provide adequate intensity (30-50 PAR for low light, 50-80 for medium, 80+ for high light plants) – Use full-spectrum lights designed for plant growth – Maintain a consistent photoperiod (8-10 hours daily)
D. Water quality maintenance – Keep temperature stable and appropriate for plant species – Maintain slightly acidic to neutral pH (6.5-7.5 for most plants) – Ensure adequate CO2 levels (inject if necessary) – Perform regular water changes (25-50% weekly)
IV. Dealing with melting plants
- Remove severely melted leaves to prevent ammonia spikes
- Continue caring for remaining healthy parts
- Be patient, as many plants can recover from initial melt
V. Choosing melt-resistant plant species
- Hardy species: Anubias, Java Fern, Cryptocoryne
- Fast-growing species: Hornwort, Elodea, Vallisneria
- Consider starting with these before moving to more delicate species
Related article:-

