Shrimp Tank Setup: Step-by-Step Guide for Success
Setting up a shrimp tank is easy even if you’ve never kept an aquarium before. All you need is the right equipment, a stable environment, and a little patience. A healthy shrimp tank starts with clean, cycled water, soft filtration, and plenty of hiding spots like plants and driftwood. In this guide, you’ll learn exactly how to set up a freshwater shrimp tank from scratch, what species to choose, and how to avoid beginner mistakes so your shrimp thrive from day one.
Shrimp Tank Setup Essentials
Before you dive in, let’s make sure you have the right tools. A shrimp tank doesn’t need to be expensive or complicated, but having the correct setup from the start will help you avoid problems later.
Tank Size Start with a tank that’s at least 5 gallons. While shrimp produce less waste than fish, more water volume makes it easier to keep the conditions stable—especially if you’re just starting out. A 10-gallon tank is even better if you plan to breed or keep a larger colony.
Learn more: Best Tank Size for Shrimp
Filter Use a sponge filter or a filter with a sponge guard to protect baby shrimp. Shrimp love grazing on the biofilm that grows on sponge filters, and these gentle setups prevent them from getting sucked in.
Heater Many shrimp species can tolerate a range of temperatures, but a small heater helps keep things steady. This is especially helpful if your room temperature drops at night or during the winter.
Lighting Shrimp don’t need intense light, but if you plan to grow live plants, a basic LED aquarium light will do the trick. Most nano tanks come with built-in lights, which is great for beginners.
Substrate Use fine gravel or aquarium-safe sand. Darker substrates not only make your shrimp’s colors pop, but also help them feel more secure.
Water Conditioner Always treat tap water with a dechlorinator. Chlorine and heavy metals can harm or kill shrimp.
Other Must-Haves
- A thermometer to monitor water temperature
- A test kit for ammonia, nitrite, nitrate, and pH
- Decorations or live plants for cover
- A bucket and siphon for easy water changes
Once you’ve gathered these essentials, you’re ready to move on to setting up your shrimp tank the right way.
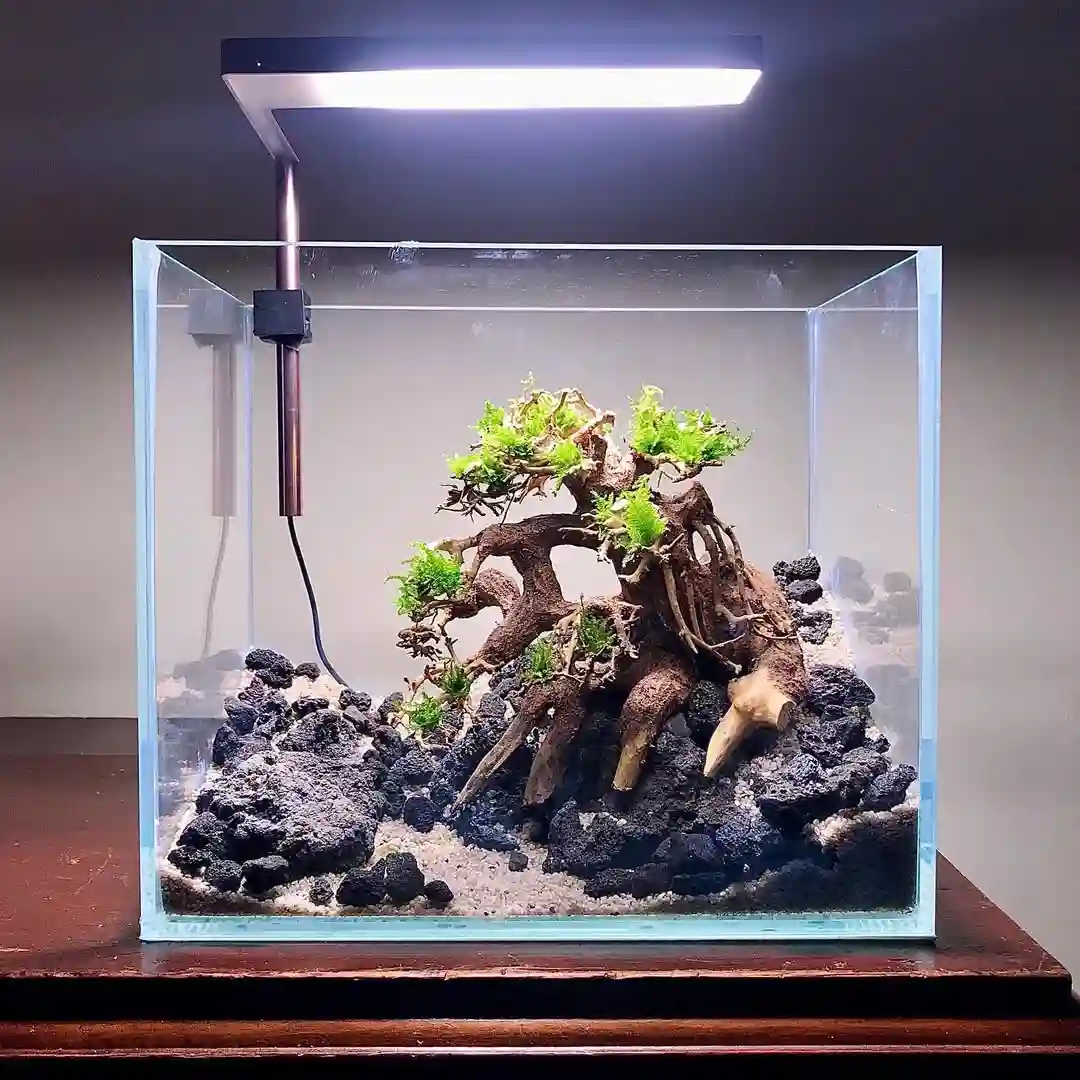
How to Set Up Your Shrimp Aquarium (Step-by-Step)
Once you’ve got your gear, it’s time to bring your shrimp tank to life. Here’s a simple step-by-step process that works whether you’re using a basic 5-gallon or a larger planted tank.
Step 1: Pick the Right Spot
Place your aquarium on a flat, sturdy surface that can handle the weight. Avoid spots near windows, heaters, or AC vents—shrimp don’t like temperature swings or direct sunlight.
Step 2: Add Substrate
Rinse your gravel or sand to remove dust, then spread a 1-inch layer across the bottom of the tank. A dark substrate helps shrimp feel secure and makes their colors stand out.
Step 3: Position Hardscape
Add any rocks, driftwood, or shrimp hides now. It’s easier to position them before the tank is filled. These decorations also collect biofilm, a favorite shrimp snack.
Step 4: Fill the Tank with Conditioned Water
Use a water conditioner to treat tap water before filling. Pour the water gently—try aiming it at a plate or plastic lid to avoid disturbing the substrate.
Step 5: Install Equipment
Set up your sponge filter and heater according to the instructions. Turn them on and leave them running continuously—except when doing water changes.
Step 6: Plant Your Aquarium
If you’re using live plants, add them now using aquarium tweezers if needed. Plants like Java moss, Anubias, and floating species give shrimp food, shelter, and help maintain water quality.
Step 7: Start the Nitrogen Cycle
Don’t add shrimp yet. Your tank needs to cycle first to build up beneficial bacteria that break down waste. Step-by-step help: How to Cycle a Shrimp Tank
Once the cycle is complete and your water tests show 0 ammonia and nitrite, your shrimp tank is ready.
Ideal Water Parameters for Shrimp
Freshwater shrimp are more sensitive to water quality than fish, so getting the right balance is key. The good news? Once your tank is cycled and stable, it’s easy to maintain.
Here’s a quick breakdown of the ideal water conditions for most beginner-friendly shrimp like Cherry, Amano, and Ghost Shrimp:
Parameter Ideal Range Temperature 72–76°F (22–24°C) pH 6.5–7.5 Ammonia 0 ppm Nitrite 0 ppm Nitrate Under 20 ppm GH (General Hardness) 6–8 dGH KH (Carbonate Hardness) 3–6 dKH TDS (Total Dissolved Solids) 150–250 ppm
Shrimp don’t need “perfect” numbers—but they do need stable ones. Avoid large swings in temperature or pH. Always use a test kit before adding shrimp and test weekly after that.
If your water is too soft or you’re using RO (reverse osmosis) water, you’ll likely need to add minerals to prevent molting issues.
Guide: Shrimp GH KH Levels
Also, avoid any water treatments, fertilizers, or additives that contain copper—it’s toxic to shrimp, even in small amounts.
Live Plants and Decor: Why Shrimp Love Them

Shrimp thrive in tanks with natural decor—not just for looks, but for health and safety. Plants and hardscape help create a shrimp-friendly environment that supports their daily behavior.
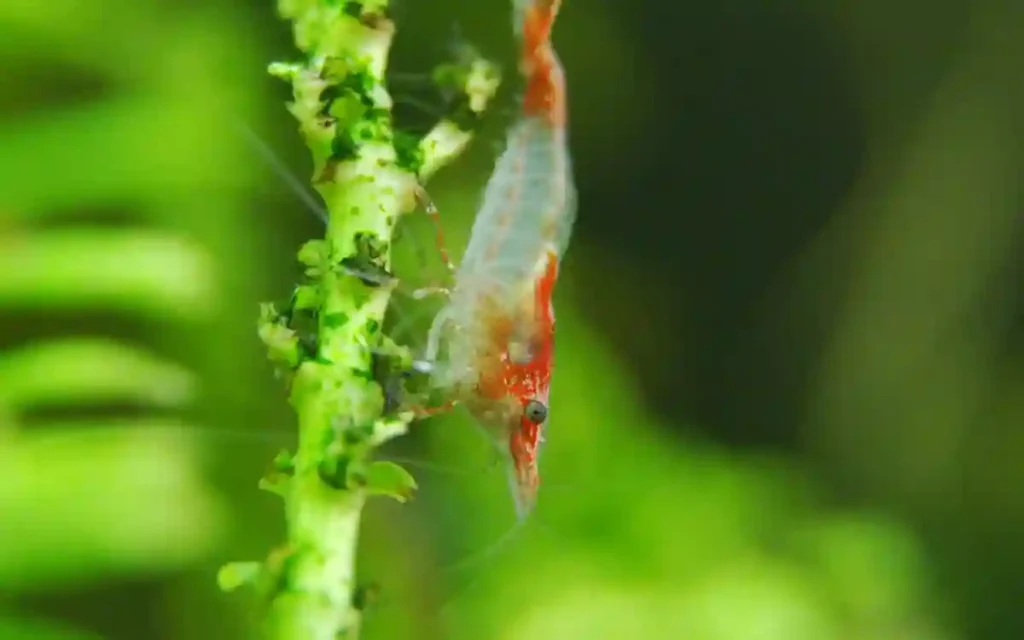
Why live plants matter: Live plants like Java moss, Anubias, Hornwort, and floating species do more than decorate your tank. They grow biofilm, which shrimp love to eat, and they offer constant hiding spots for both adults and baby shrimp.
Plants also help stabilize water conditions. They absorb excess nutrients like ammonia and nitrate, improve oxygen levels, and make your tank more balanced overall.
Decor that works: Add shrimp-safe decor like driftwood, lava rocks, or shrimp tubes. These give shrimp places to hide after molting and help them feel secure. Darker-colored decorations also help shrimp show off their colors better.
Avoid sharp decorations or anything with untreated metal or copper. These can injure or poison your shrimp.
Choosing Shrimp for Your Tank
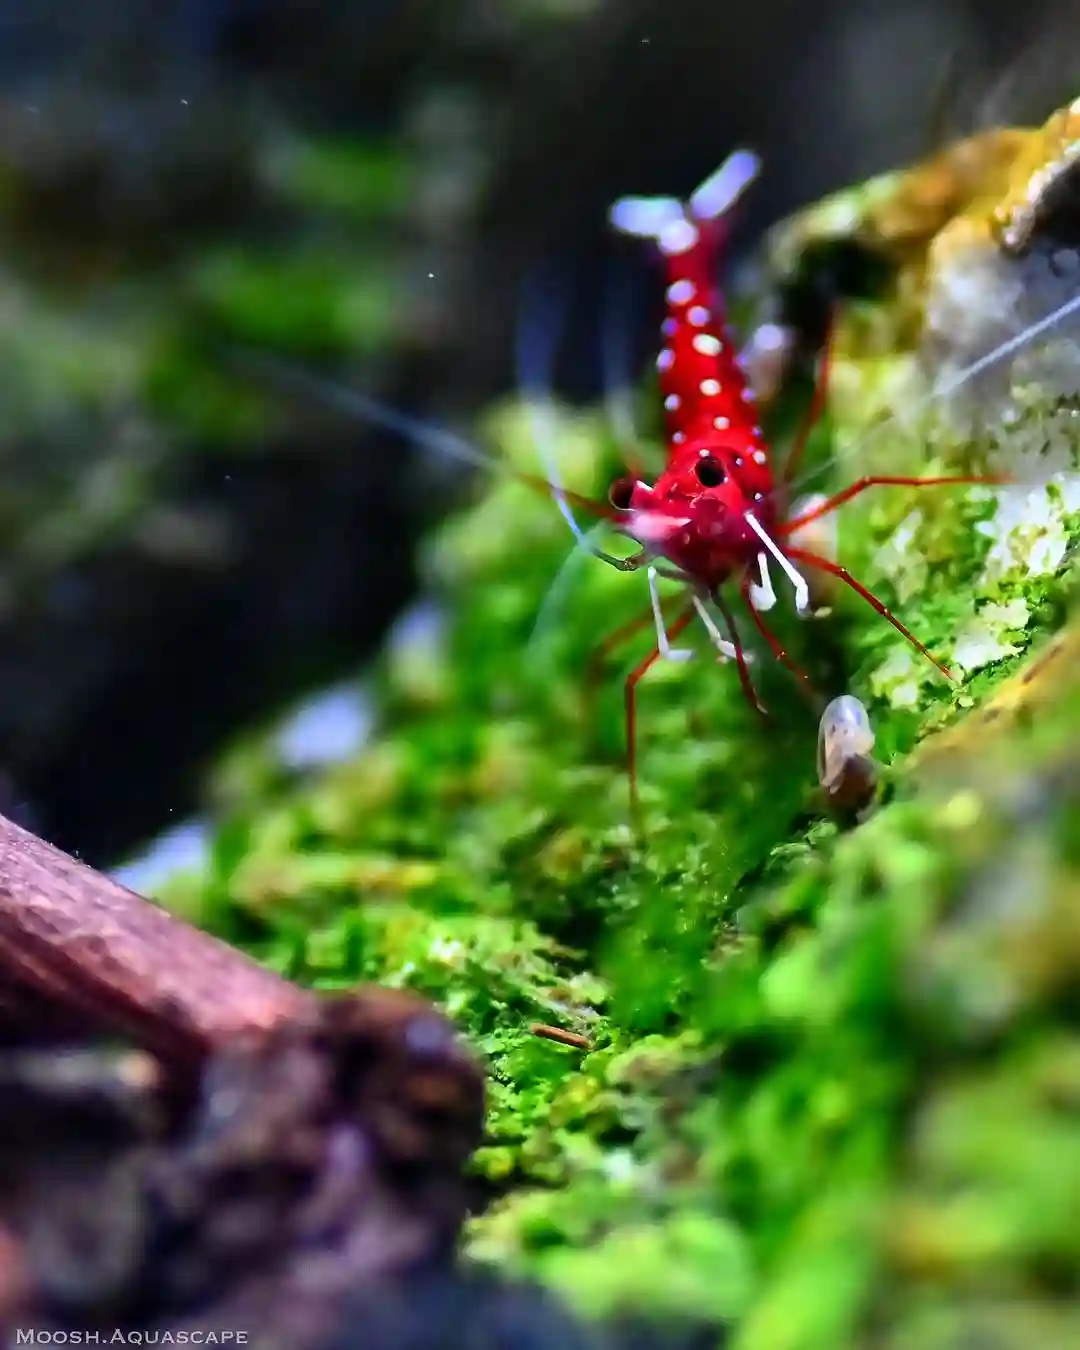
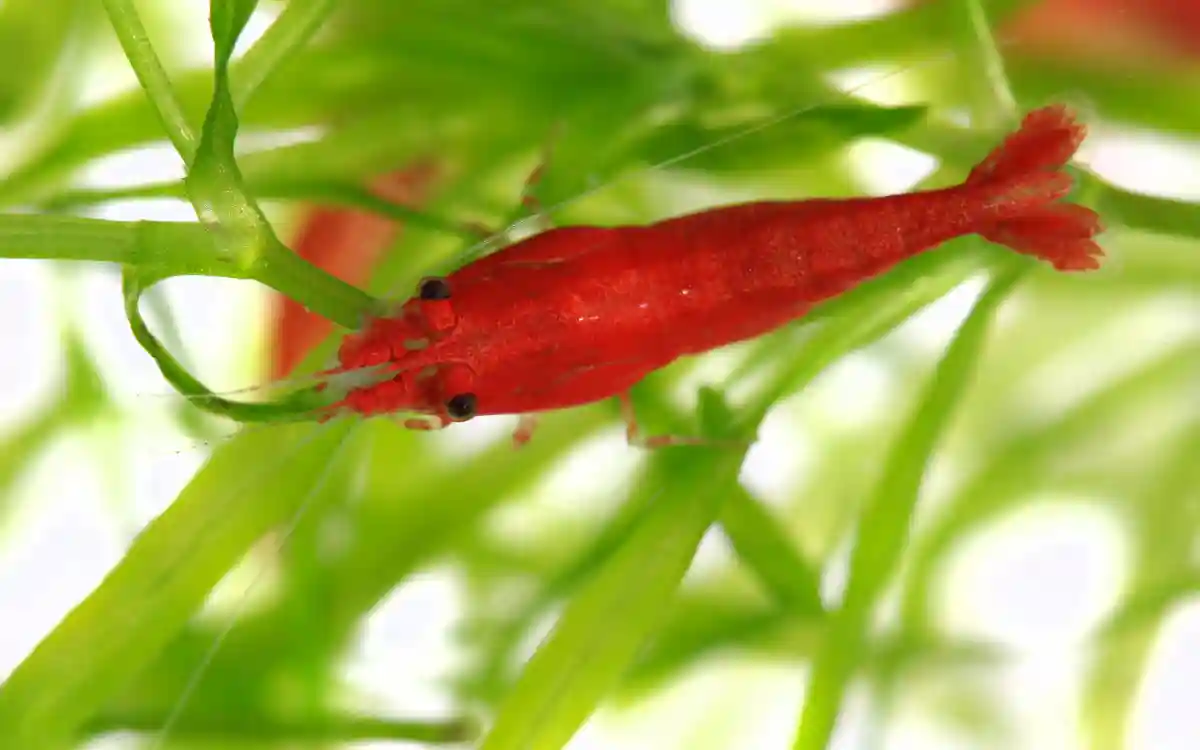
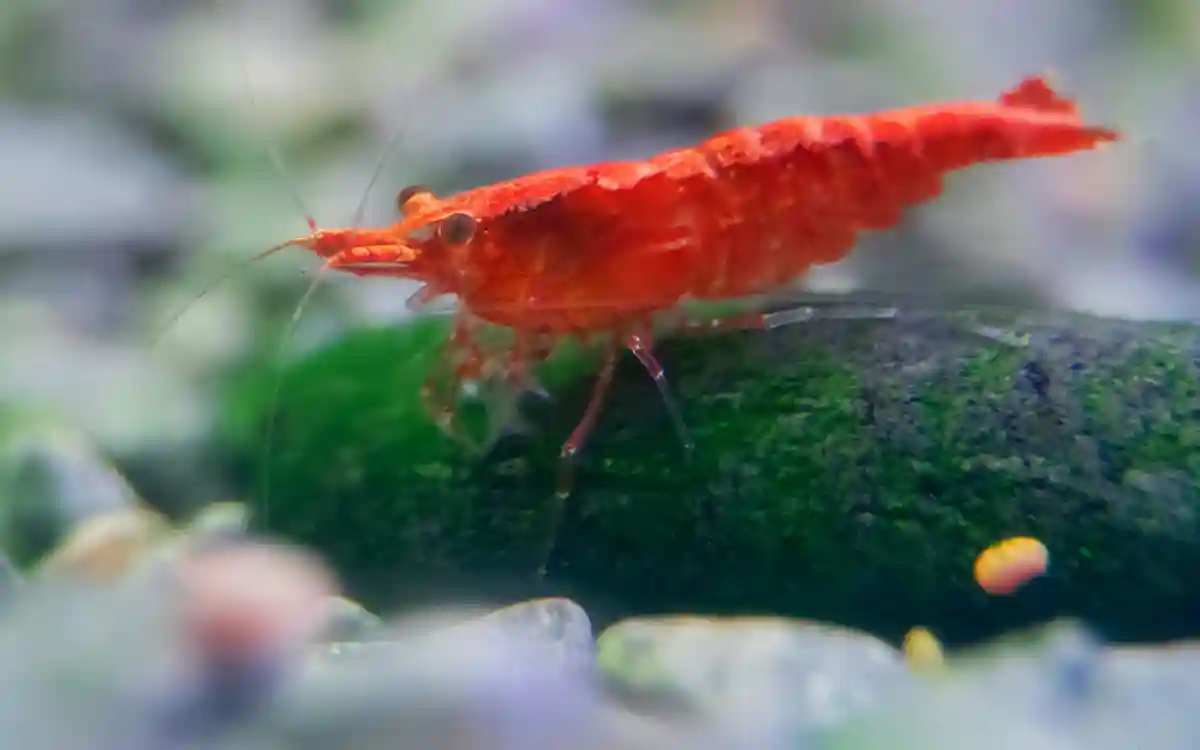
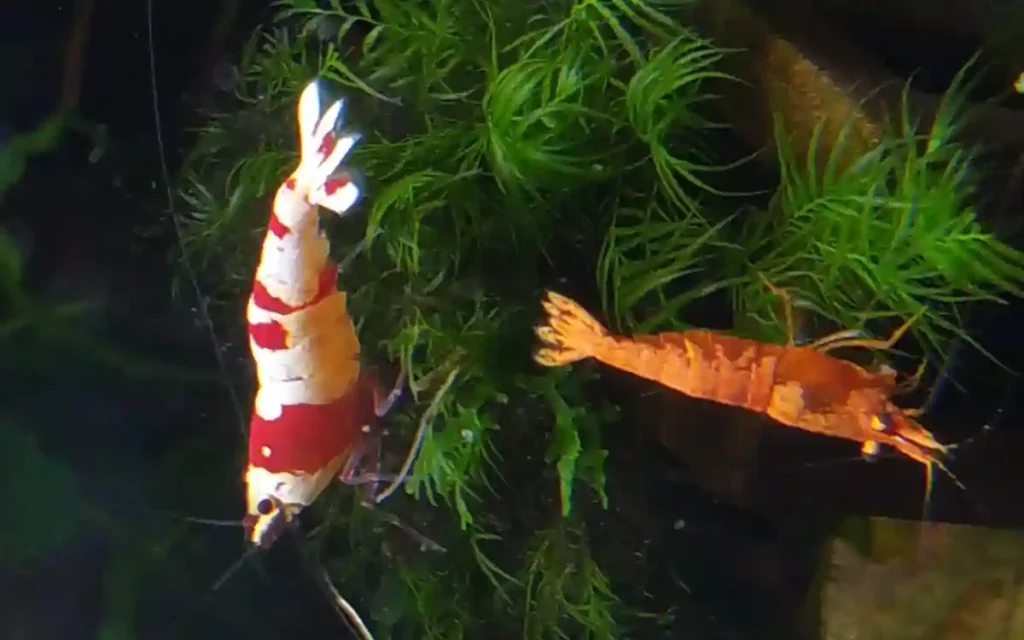
Not all freshwater shrimp are equally easy to care for. If this is your first shrimp tank, go with species that are hardy, peaceful, and easy to feed.
Popular beginner-friendly shrimp include:
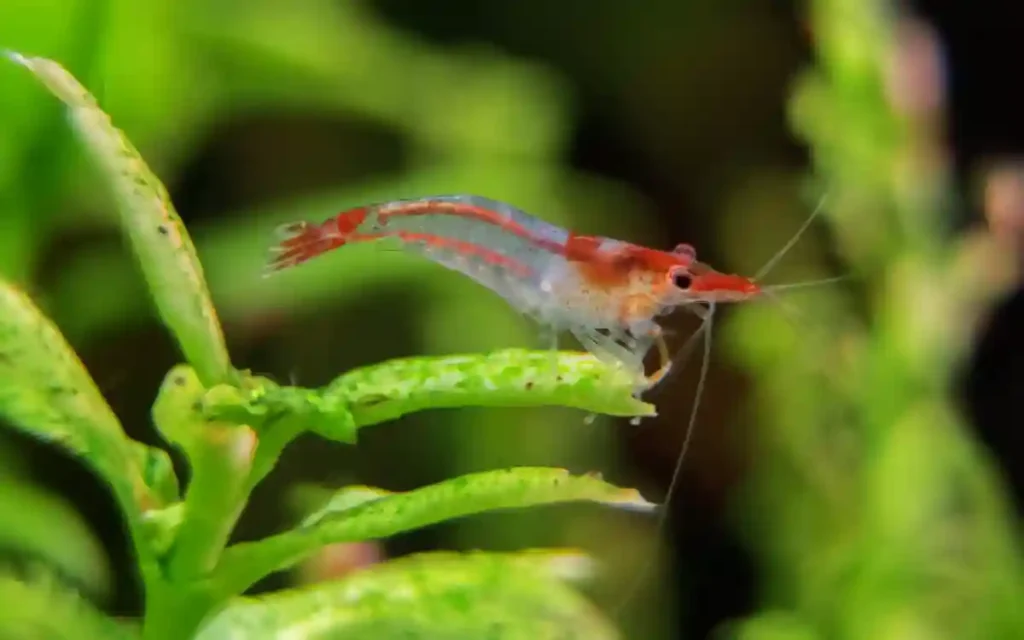
- Cherry Shrimp – Colorful, active, and great for breeding
- Amano Shrimp – Excellent algae eaters and peaceful tankmates
- Ghost Shrimp – Budget-friendly and fun to watch, though less colorful
Start with a group of at least 10 shrimp so they feel secure and act naturally. Shrimp are social and do much better in groups than alone.
Avoid mixing different color types of Cherry Shrimp (like red and yellow) in one tank, as they may interbreed and produce dull-colored offspring.
Want to explore more options? Check out the types of freshwater shrimp you can keep in your aquarium.
Feeding Shrimp in a New Tank
Shrimp are natural scavengers. They’ll graze on algae, biofilm, and tiny leftovers in your tank—but they still need a little help to stay healthy and colorful.
In the first few weeks, when your tank is still maturing, there may not be enough natural food. That’s when supplemental feeding becomes important.
What to feed shrimp:
- Shrimp pellets or sinking sticks – These are made specifically for shrimp and contain important minerals like calcium for healthy molting.
- Blanched vegetables – Zucchini, spinach, or cucumber in small pieces are easy, healthy options.
- Algae wafers – A good backup if your tank doesn’t have much natural algae yet.
- Biofilm – Encourage natural biofilm growth with driftwood, moss, and surfaces where microorganisms can grow.
Feed a tiny amount once a day, or every other day in a new tank. If there’s still food left after 2–3 hours, remove the excess to keep your water clean.
Baby shrimp need finer food, like powdered shrimp pellets or crushed flakes. You can also let leaves and mosses break down in the tank—baby shrimp will happily graze on them.
Full list here: What to Feed Aquarium Shrimp
Weekly Maintenance Tips
Shrimp may be small, but they need consistent care to stay healthy. A little weekly maintenance goes a long way in keeping your tank clean and your shrimp happy.
Water Changes Change about 20–30% of the water once a week. Always match the new water’s temperature to the tank and treat it with a dechlorinator first. Avoid big swings in temperature or water chemistry, as shrimp are sensitive to sudden changes.
Testing Water Use a liquid test kit once a week to check ammonia, nitrite, nitrate, and pH. Ammonia and nitrite should always be at 0. Nitrate should stay under 20 ppm.
Cleaning Surfaces Wipe algae off the glass with a soft sponge or algae scraper. Avoid disturbing plants and decor too much—shrimp graze on biofilm that grows there.
Vacuuming the Substrate If food or waste is building up, lightly vacuum the surface. Be gentle to avoid sucking up baby shrimp.
Troubleshooting common issues? See: Why Are My Shrimp Dying?
With consistent, gentle maintenance, your shrimp colony will thrive without much effort.
Common Mistakes to Avoid
Even the most enthusiastic beginners can run into trouble if they skip a few key basics. Here are some of the most common mistakes that lead to unhealthy shrimp or sudden deaths—and how to avoid them.
Skipping the Nitrogen Cycle Adding shrimp to a tank that hasn’t been cycled is one of the fastest ways to lose them. Always wait until ammonia and nitrite levels are at zero before introducing any shrimp. 👉 Not sure how? Start here: How to Cycle a Shrimp Tank
Using Untreated Tap Water Tap water often contains chlorine and metals like copper that are toxic to shrimp. Always use a water conditioner before adding new water.
Overfeeding Shrimp don’t need much food. Leftovers can quickly foul the water, so feed sparingly and remove uneaten food after a few hours.
Adding Incompatible Tank Mates Many fish—even peaceful ones—will eat baby shrimp or stress out the adults. If you’re not sure what’s safe, stick to a shrimp-only tank or add snails.
Making Sudden Water Changes Large temperature drops or changes in pH can shock shrimp. Always make water changes slowly and use temperature-matched, conditioned water.
FAQs
Do I need a filter for my shrimp tank? Yes, especially if you’re new. A sponge filter is the safest option—it keeps the water clean and won’t suck up baby shrimp.
Setup help: Do Shrimp Need a Filter?
Do I need a heater? Not always. Many shrimp can live in room-temperature tanks, but a heater helps prevent temperature swings. This is especially helpful if you plan to breed.
Full details: Do Cherry Shrimp Need a Heater?
How long should I wait before adding shrimp?
Wait until your tank is fully cycled. That usually takes 4 to 6 weeks using a fishless cycle. Test your water and confirm 0 ammonia and nitrite before adding shrimp.
Can I use tap water?
Yes—if it’s treated with a good water conditioner. Untreated tap water contains chlorine and other chemicals that can harm shrimp.
Do shrimp need RO water? Not unless you’re keeping sensitive species. Most beginner shrimp, like Cherry and Amano shrimp, do just fine with dechlorinated tap water.
Learn more: Do Shrimp Need RO Water?
Can I keep shrimp with fish?
Some peaceful nano fish like ember tetras or otos may work, but most fish will eat baby shrimp. If you’re new, a shrimp-only tank is safest.
Read: Cherry Shrimp Tank Mates