
101 Aquascaping for Beginners: The Ultimate

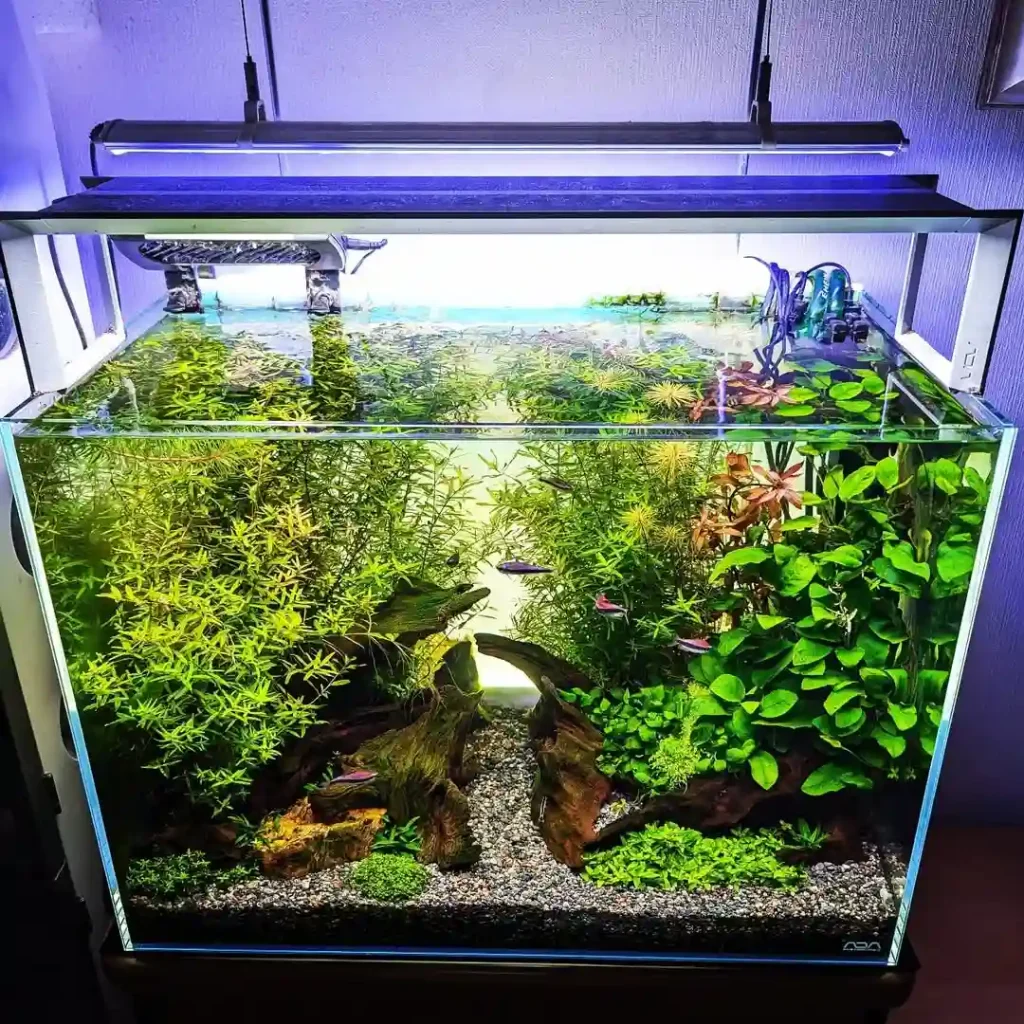
Aquascaping is the practice of creating an underwater layout with plants, rocks, driftwood, substrate and open space.
A successful aquascape is not simply an aquarium filled with attractive decorations. Its individual elements should look connected, provide suitable conditions for livestock and remain manageable as plants grow.
Your first aquascape does not need intense lighting, injected CO₂ or rare plants. A simple layout built around hardy plants is usually easier to maintain and more likely to improve over time.
What Makes an Aquarium an Aquascape?
A standard aquarium may place decorations wherever space is available. An aquascape uses a planned structure.
That structure normally includes:
- A clear focal area
- Connected rocks or pieces of wood
- Variation in height
- Open and planted spaces
- Plants selected for the layout
- Room for fish to swim
- A practical maintenance plan
If you have not selected suitable plants, first learn how to choose aquarium plants. For an overview of plant types and care, visit our aquarium plants guide.
Choose an Aquascaping Style
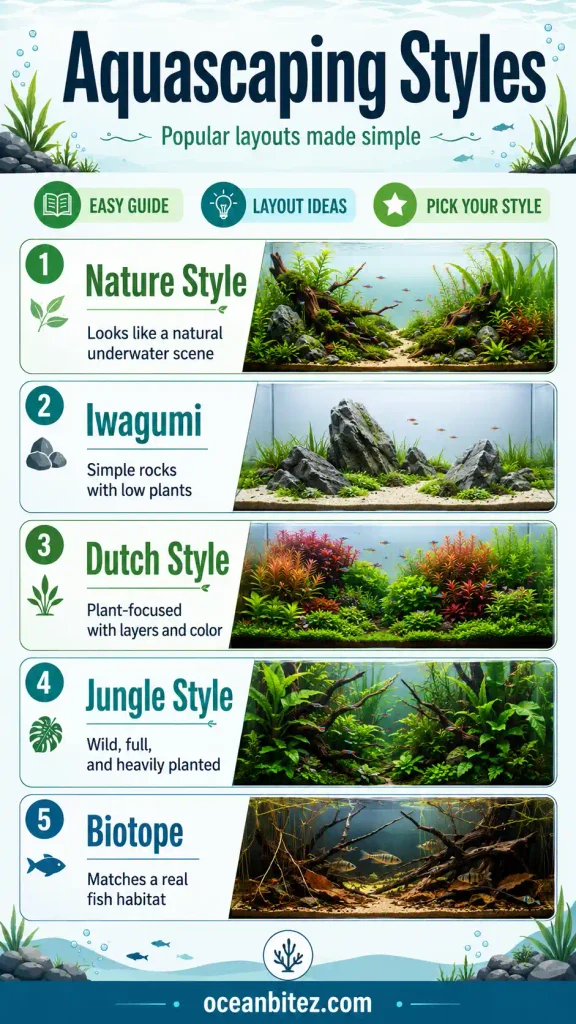
A style gives your layout a clear direction. You do not need to follow every formal rule, but choosing a general approach will prevent the tank from looking random.
Nature Aquarium
Nature-style aquascapes use wood, stone and plants to suggest natural landscapes such as riverbanks, forests or valleys.
This is a good beginner option because plant groups do not need to form perfect rows. Small changes and natural growth can improve the layout.
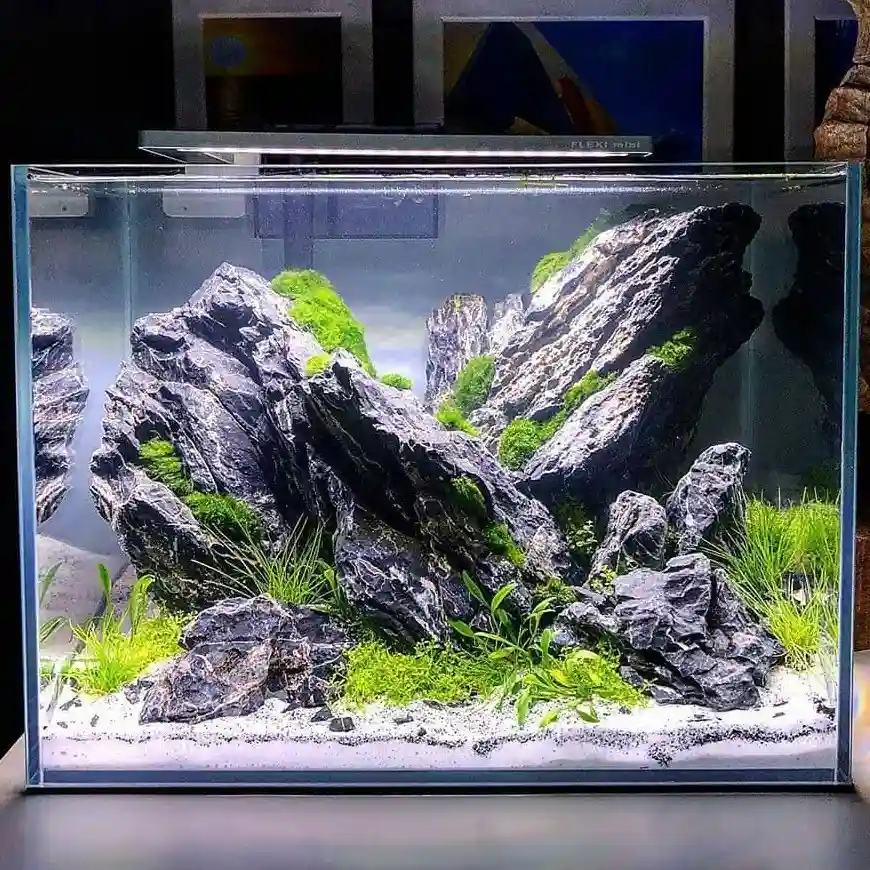
Iwagumi
Iwagumi layouts use carefully arranged stones, open space and low-growing plants.
The finished design may appear simple, but maintaining it can be demanding. Carpet growth, visible algae and the precise stone arrangement leave little room to hide problems.
Review the requirements of aquarium carpet plants before attempting this style.
Dutch Aquascaping
Dutch aquascapes use organized plant groups to create contrast through color, height, leaf shape and texture. Rocks and wood are limited or absent.
This style needs regular pruning and a good understanding of plant growth. It is better suited to aquarists who enjoy ongoing plant maintenance.
Read the complete Dutch aquascaping guide.

Jungle Style
Jungle aquascapes use dense, natural-looking growth. They are less dependent on clean lines and precise trimming.
Jungle layouts can be forgiving, but they still require control. Unchecked growth may block water flow, shade lower plants and reduce swimming space.
More aquarium layout read this:- 21 Planted Aquarium Layout Ideas for Beautiful Tanks
Plan the Layout Before Buying Materials
Decide what the tank should look like before purchasing plants and hardscape.
Ask yourself:
- Which style do I want?
- Where will the focal point sit?
- How much open swimming space do the fish need?
- Which equipment needs to be hidden?
- How large will the plants become?
- Can I maintain the finished layout every week?
Look at reference aquascapes with dimensions similar to your aquarium. A layout designed for a long, shallow tank may not translate well to a tall aquarium.
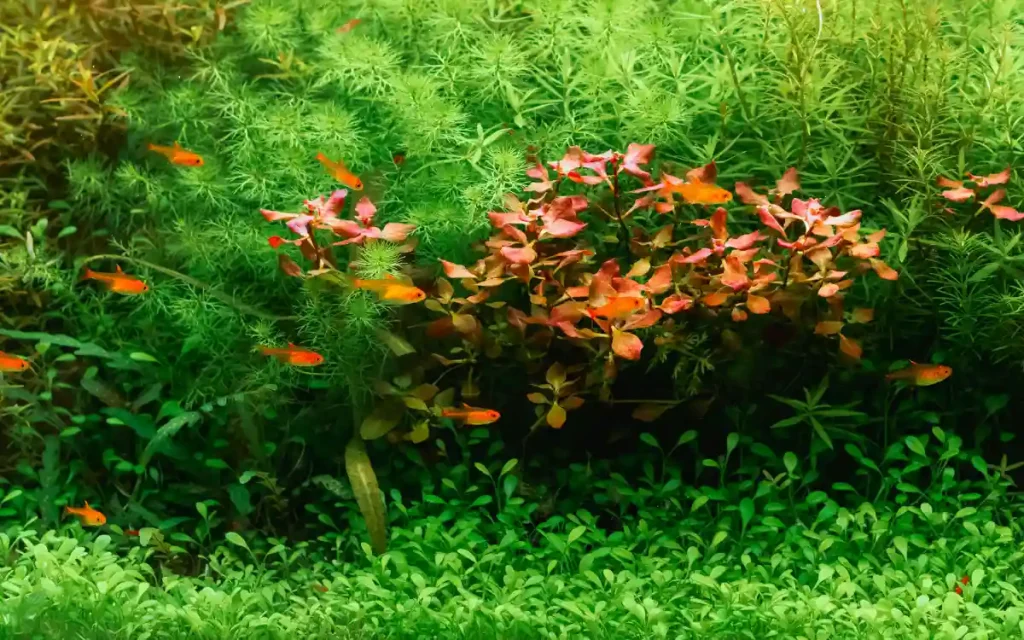
Create a Clear Focal Area
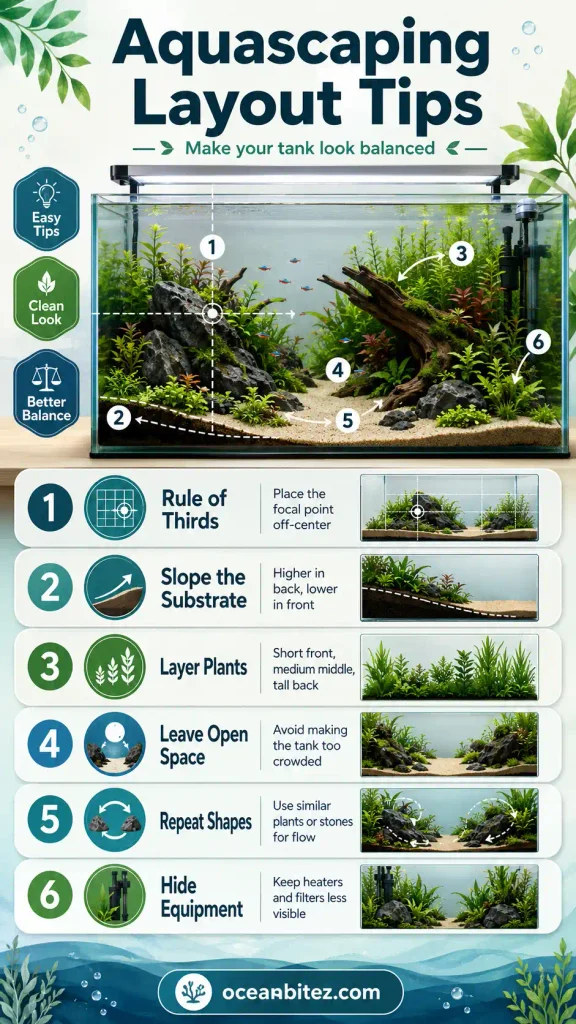
Placing the main rock or piece of wood directly in the center can divide the aquarium into two equal halves.
Try positioning the main feature slightly left or right of center. Supporting rocks, branches and plants should guide the eye toward it.
This is a guideline rather than an absolute rule. Centered layouts can work when symmetry is intentional, but off-center arrangements are generally easier for beginners to make natural.
Choose and Arrange Hardscape
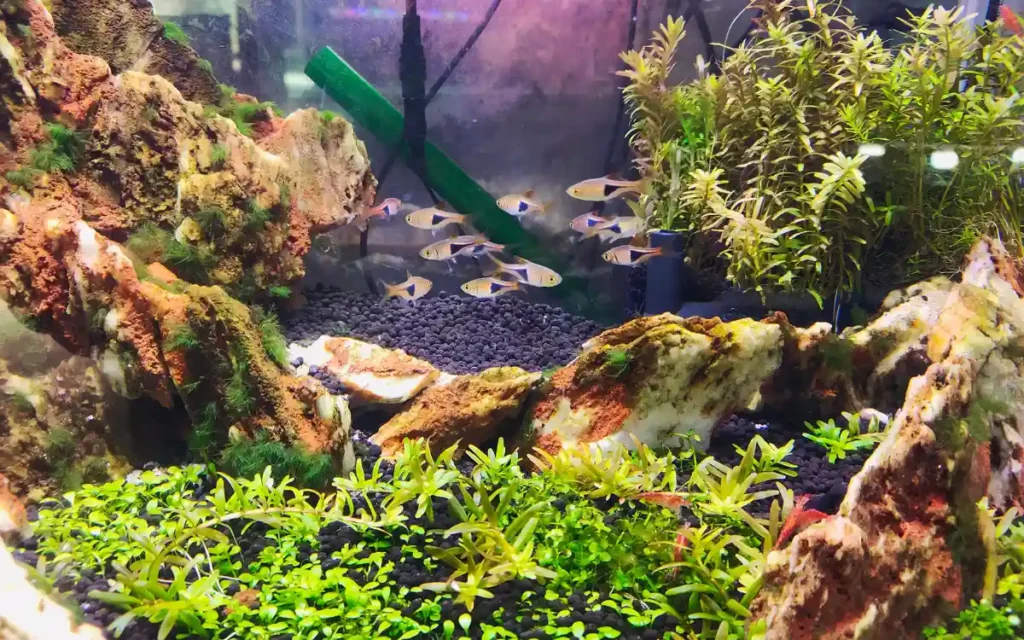
Hardscape forms the permanent structure beneath the plants.
Rocks
Use rocks with similar color and texture so they look like part of the same environment. Position them with a consistent direction rather than placing each stone at a different angle.
Partially bury the bottom of the rocks. Stones sitting completely above the substrate can look unstable or artificially placed.
Driftwood
Use branch direction to create movement through the layout. Make sure the wood is aquarium-safe and properly prepared.
Leave space around plants that will eventually attach to or grow around the wood.
Test the Dry Layout
Arrange the hardscape in an empty tank before planting. Photograph several versions from the normal viewing position.
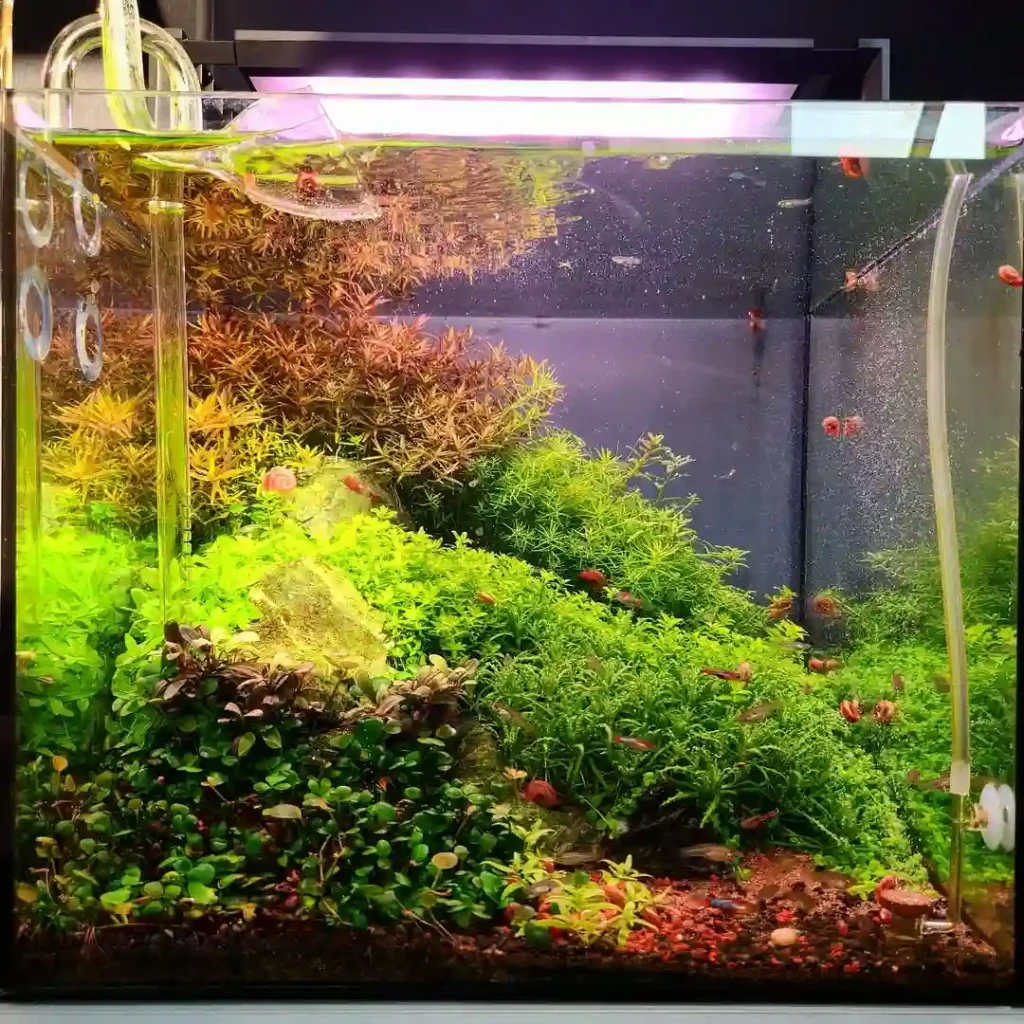
This is easier than trying to move heavy stones after the aquarium has been filled.
Create Depth From Front to Back
Aquariums have limited physical depth, so the layout must create an illusion of distance.
Useful techniques include:
- Keep the substrate shallow in front and deeper toward the back
- Use larger hardscape in the front or focal area
- Use smaller supporting pieces farther back
- Allow paths to become narrower toward the rear
- Use short plants in front and taller plants behind
- Leave controlled gaps instead of filling every area
- Overlap plant and hardscape groups
Smaller leaf textures toward the back can increase the impression of distance, provided those plants do not grow tall enough to hide the layout.
Find suitable low-growing species in our foreground aquarium plants guide.
Choose the Right Substrate
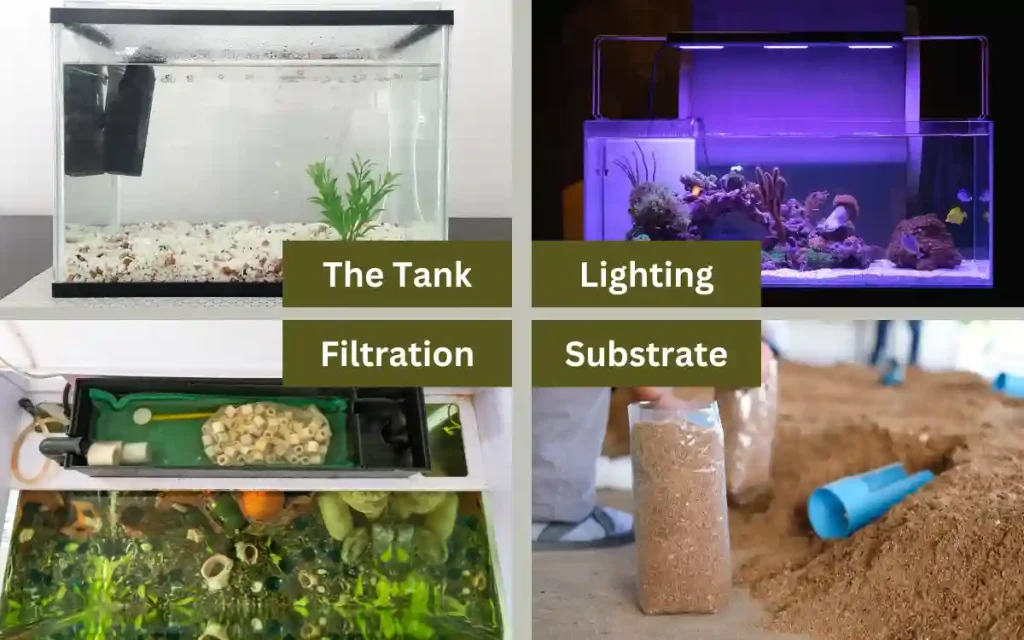
The best substrate depends on your plants and layout.
Aquasoil
Aquasoil provides nutrients and is useful for many root-feeding and carpeting plants. Some products can initially affect ammonia, pH or water hardness, so follow the manufacturer’s instructions and cycle the tank properly.
Inert Sand or Gravel
Inert substrate provides little nutrition on its own, but it can still support plants. Root tabs can supply nutrients to root feeders, while suitable liquid fertilizer can support plants that feed through the water column.
Decorative Sand
Decorative sand works well for open paths and foreground areas. Keep it separated from loose aquasoil where possible because the materials can mix during maintenance.
Learn more in the aquarium substrate guide.
Plan Lighting and Water Flow
Lighting must match the plants rather than the brightness you personally prefer.
Too little light can cause weak growth. Too much light can create algae problems when CO₂ and nutrient availability cannot support the increased demand.
For a new low-tech tank, start with approximately six to seven hours of light per day and adjust according to plant growth and algae.
Water flow should distribute heat, nutrients and CO₂ without flattening delicate plants. Avoid dead areas where debris continuously collects.
Build the Aquascape Step by Step
Step 1: Add and Shape the Substrate
Create the main slope and any raised areas. Support steep sections with rocks or substrate barriers when necessary.
Step 2: Position the Hardscape
Place the main piece first, followed by supporting rocks or wood. View the layout from the usual seating or standing position.
Step 3: Prepare the Plants
Remove pots, gel and rock wool. Separate plants into appropriate portions and remove severely damaged leaves.
Step 4: Plant the Tank
Mist the substrate so it remains damp.
Plant short species first, followed by mid-height and taller plants. Use aquascaping tweezers when helpful, but avoid crushing delicate roots.
Attach rhizome plants and mosses to hardscape. Do not bury rhizomes.
Use suitable low-light aquarium plants in shaded areas beneath wood or taller growth.
Step 5: Fill the Aquarium Slowly
Place a shallow dish, plastic sheet or bag over the substrate and pour water onto it gently. This helps prevent soil disturbance and uprooted plants.
Step 6: Start the Equipment
Start the filter and heater, check for leaks and make sure water circulates through the entire layout.
Step 7: Cycle the Aquarium
Do not add fish simply because the water looks clear.
Beneficial bacteria convert toxic ammonia into nitrite and then into less toxic nitrate. Cycling commonly takes several weeks, but there is no guaranteed timeline.
Use reliable testing to confirm that the aquarium can process ammonia and nitrite before adding livestock.
The First Month
A new aquascape rarely looks perfect immediately.
You may notice:
- Brown diatoms
- Melting leaves
- Loose plants
- Cloudy water
- Small areas of algae
- Uneven early growth
Do not respond by changing everything at once. Remove decaying material, maintain stable conditions and correct one identifiable problem at a time.
Persistent plant problems can be investigated with this guide to why aquarium plants are dying.
Add Suitable Livestock
Choose animals that fit the aquarium’s size, water conditions and layout.
Aquascape-friendly options may include:
- Small tetras
- Rasboras
- Small Corydoras species
- Otocinclus in mature suitable tanks
- Shrimp
- Snails
Compatibility depends on more than species names. Tank size, group requirements, water parameters and the maturity of the aquarium must also be considered.
Goldfish, large cichlids and active digging fish can damage delicate layouts. They are not impossible to keep with plants, but the aquascape must be designed around their behavior.
Follow the freshwater aquarium setup guide before adding livestock.
Weekly Aquascape Maintenance
A practical routine may include:
- Test water when the tank is new or unstable
- Change an appropriate amount of water
- Remove decaying leaves
- Trim overgrown plants
- Clean algae from the glass
- Remove trapped debris
- Thin floating plants
- Check filter flow
- Inspect equipment
A 30–40% weekly water change can be suitable for many aquascapes, but the appropriate amount depends on stocking, fertilizer routine, source water and aquarium conditions.
Check filter media when flow declines. Rinse dirty media gently in removed aquarium water when necessary. Do not replace all biological media or wash it under chlorinated tap water.
I recommended this kit best for aquascaping helping.
Common Beginner Mistakes
Copying an Advanced Display Tank
Professional aquascapes may use powerful lighting, injected CO₂, frequent fertilizer dosing and intensive maintenance that is not visible in the final photograph.
Buying Hardscape Separately
Rocks and wood selected one piece at a time may not look connected. Choose materials together when possible.
Filling Every Empty Space
Open space helps create contrast and gives fish room to swim. It is part of the design, not an unfinished area.
Ignoring Mature Plant Size
Small plants may eventually hide the focal point or cover other species. Design around mature growth.
Adding Livestock Too Early
Clear water is not evidence that the nitrogen cycle is complete.
Making Several Changes at Once
Changing the light, fertilizer, CO₂ and water chemistry together makes it difficult to identify what caused an improvement or new problem.
Frequently Asked Questions
Do beginners need injected CO₂?
No. A low-tech aquascape can succeed with hardy plants, appropriate lighting and consistent maintenance. Added CO₂ is more useful for demanding carpets, dense growth and certain high-light plants.
How long should the aquarium light remain on?
Begin with approximately six to seven hours daily in a new aquarium. Adjust gradually according to plant growth and algae rather than immediately using a long lighting period.
Are small tanks easier to aquascape?
Not necessarily. Small tanks require fewer materials, but changes in temperature and water quality can happen quickly. A medium-sized aquarium may be more forgiving.
Can aquarium glue be used on plants?
Aquarium-safe cyanoacrylate gel is commonly used to attach mosses and rhizome plants to rocks or wood. Apply only a small amount to the attachment point.
How long does an aquascape take to mature?
That depends on the plants, lighting, nutrients, CO₂ and starting plant mass. Fast-growing tanks may fill in within weeks, while slower low-tech layouts may need several months.
